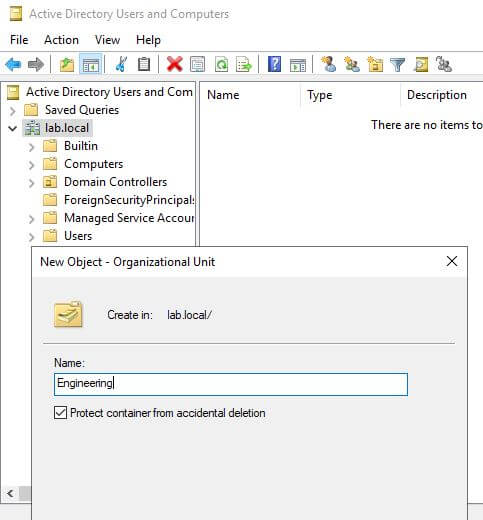
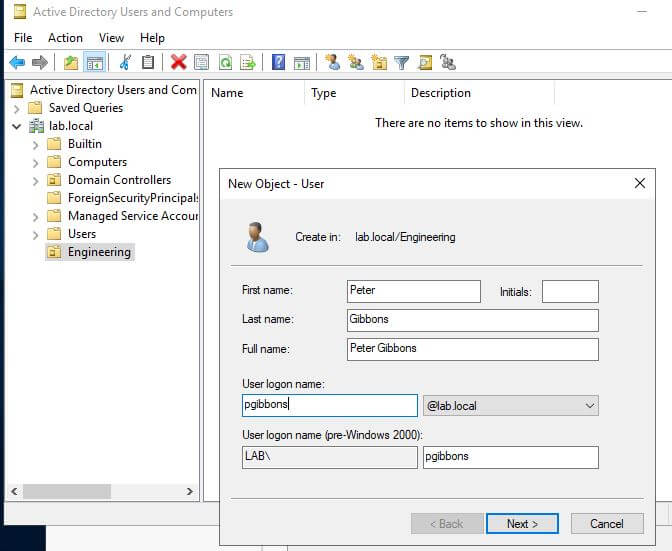
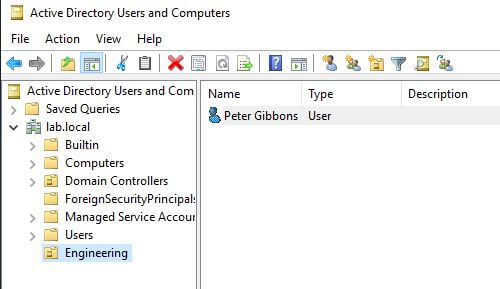
Creating a User Object and adding it to an OU.
The next step in my homeserver lab project was setting up users in my Active Directory domain.
First, create or choose the Organizational Unit (OU) where the new user will be grouped. Objects shown with a plain folder icon are containers—built-in AD objects that can hold other objects but cannot be linked to Group Policy Objects (GPOs). OUs are represented by a folder icon with a book inside, and GPOs can be linked to them to delegate administrative control.
Next, create a User object. Maintain consistent naming conventions when choosing logon names. You can either create the user directly inside the OU or create it elsewhere and move it into the OU later.
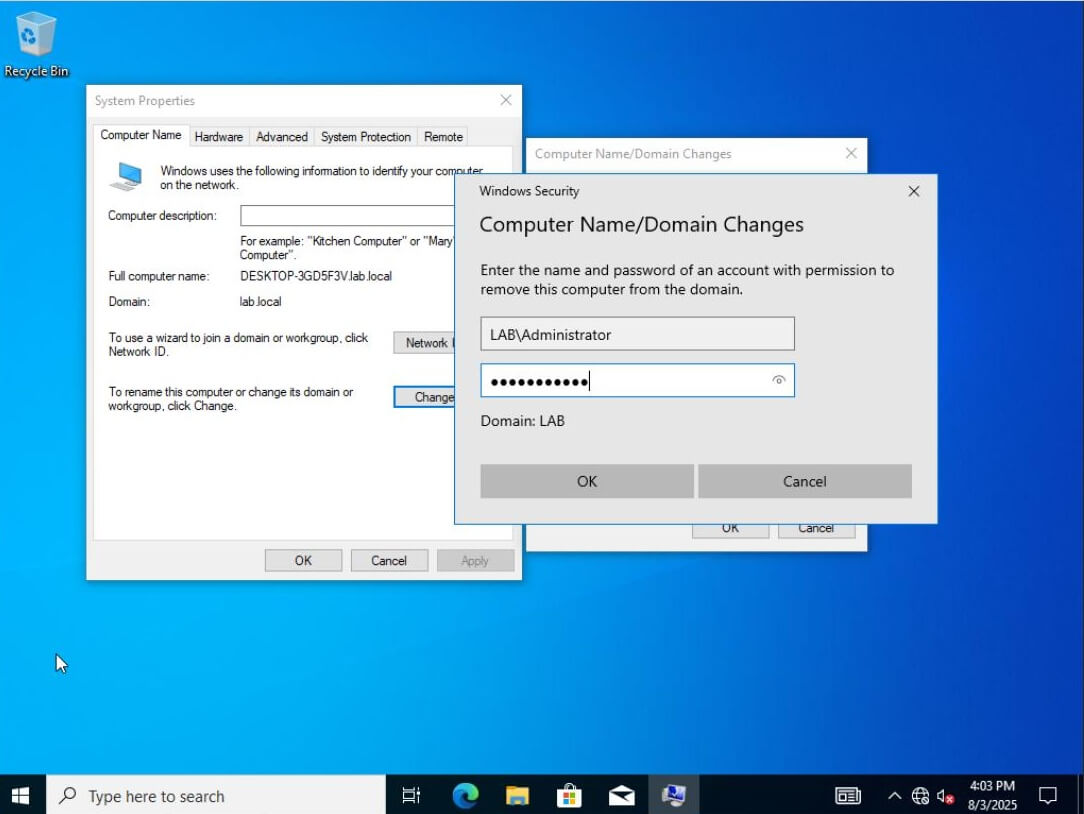
⚠ Cloning mistake note: I accidentally cloned Virtual Machine 102 while it was already joined
to the lab.local AD domain. This confused the domain controller, which saw all cloned PCs as the same
device. The fix was to remove each PC from the domain and then rejoin it.

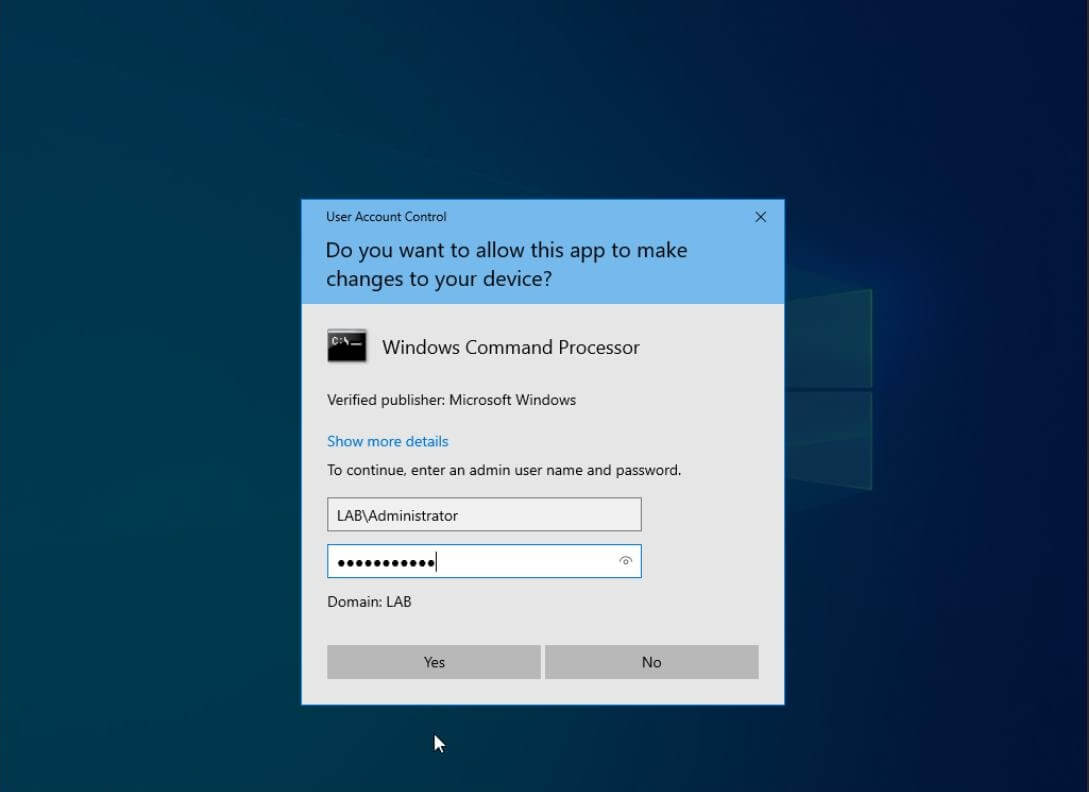
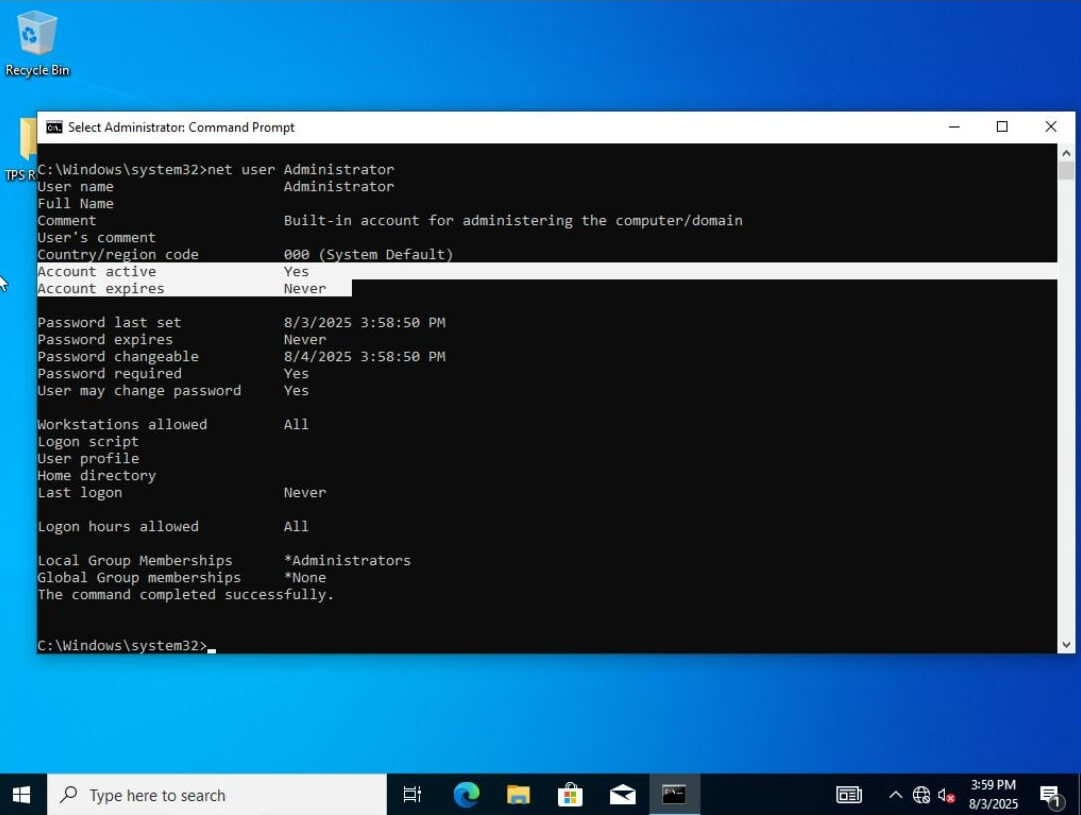
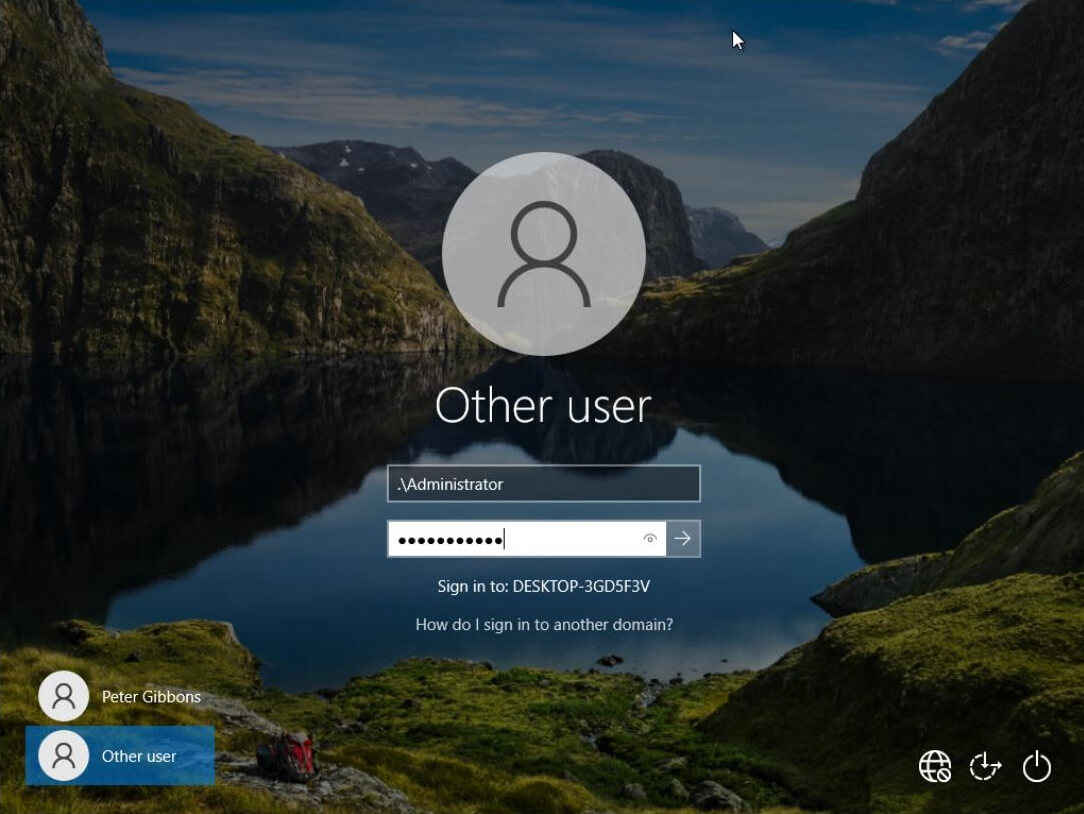
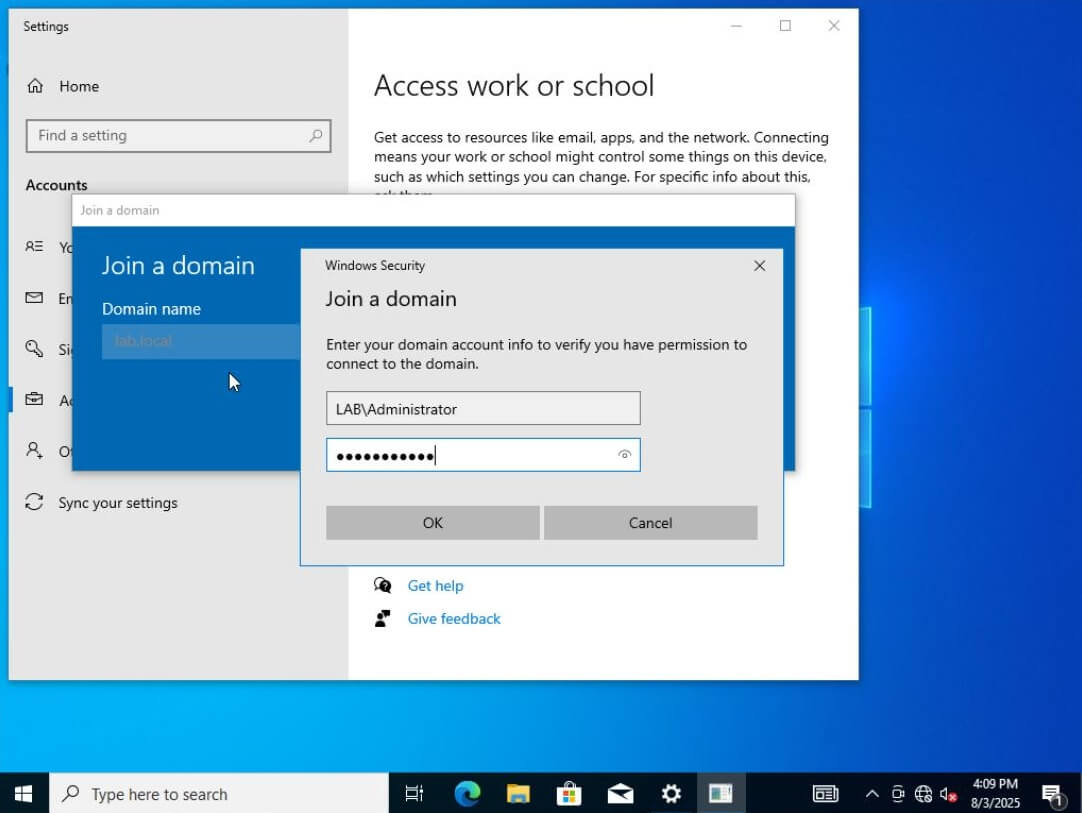
There must be a local Administrator or other local account on a PC to access it after removing it from the domain. It's a good idea to enable the local Administrator account on each PC beforehand. The first command changes its password, and the second enables the account:
net user Administrator password123net user Administrator /active:yes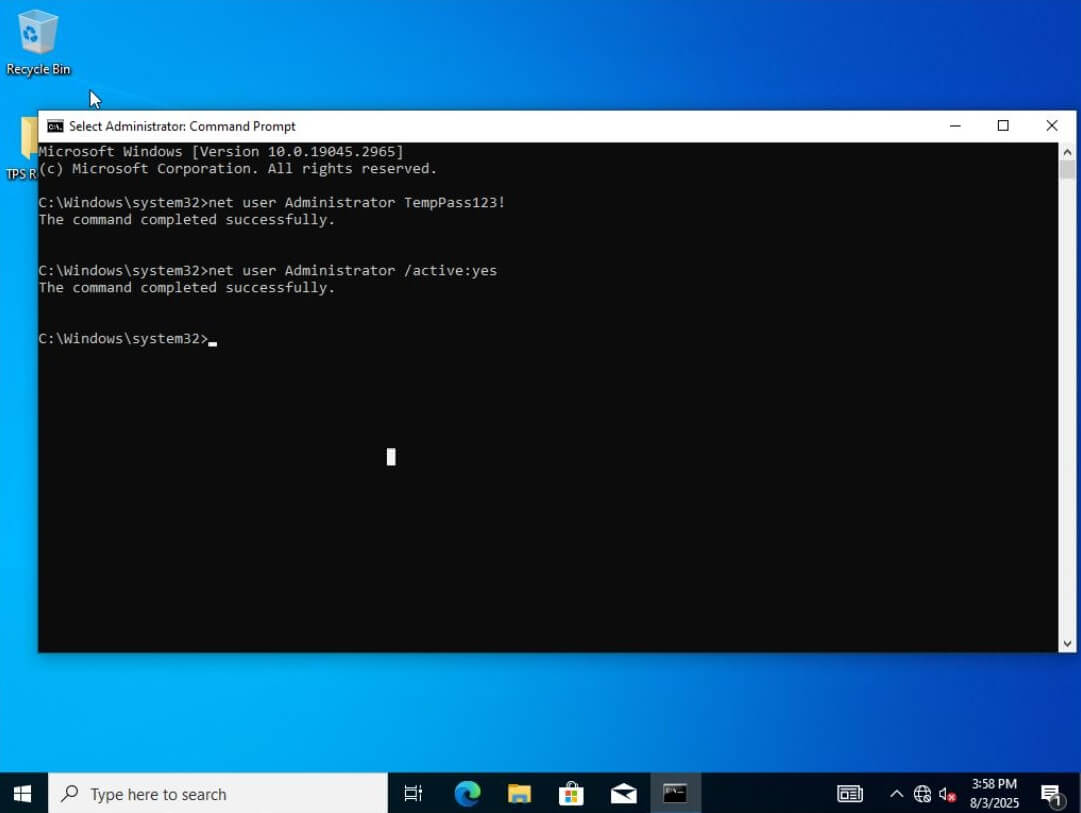
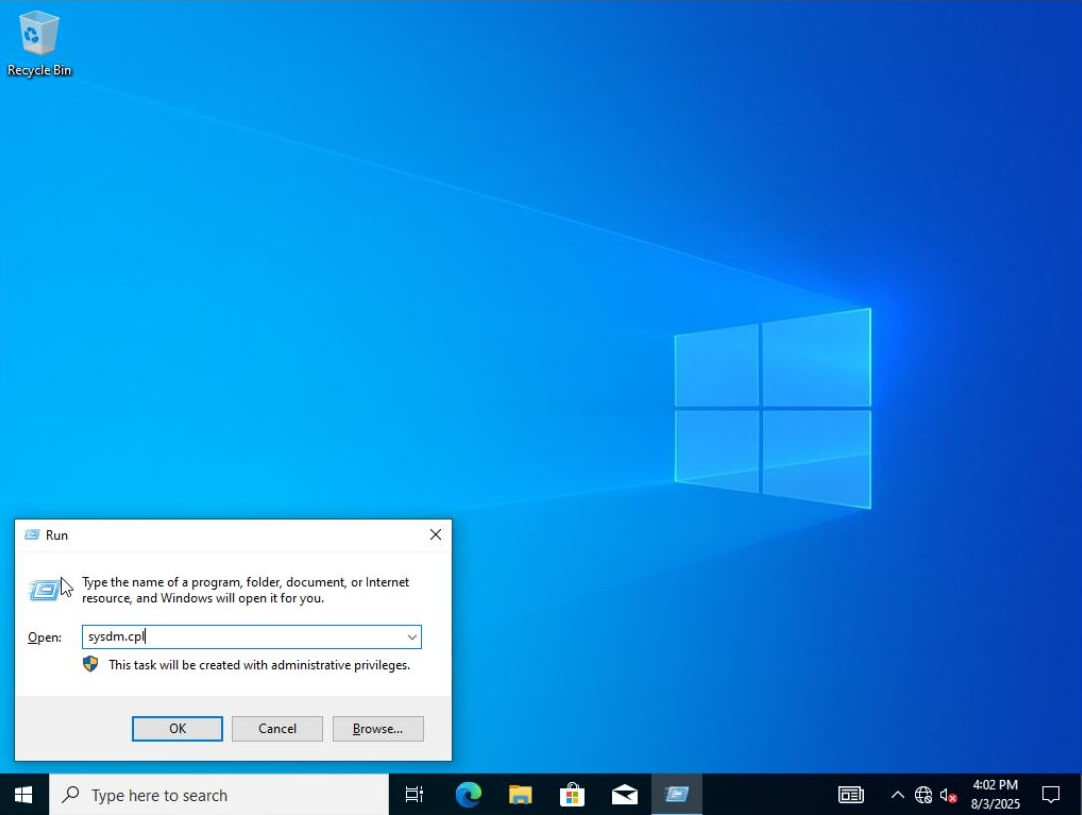
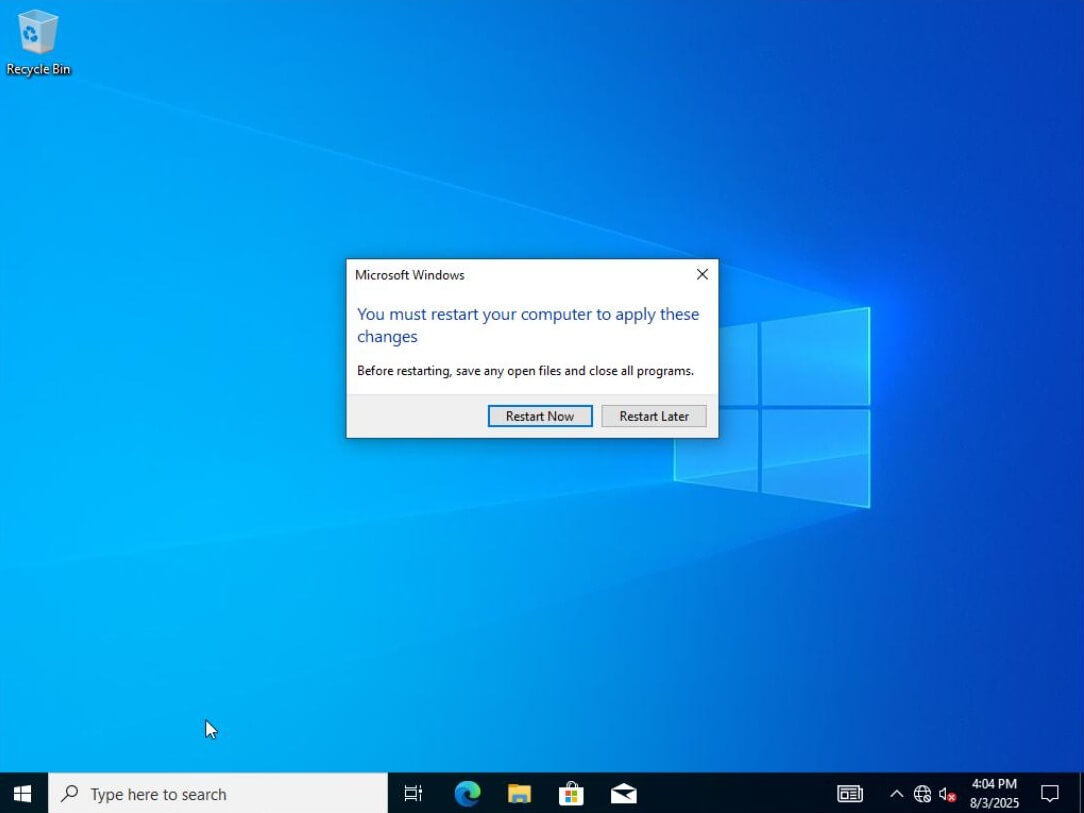
The sysdm.cpl command opens the System Properties dialog we’ll need for the next step.
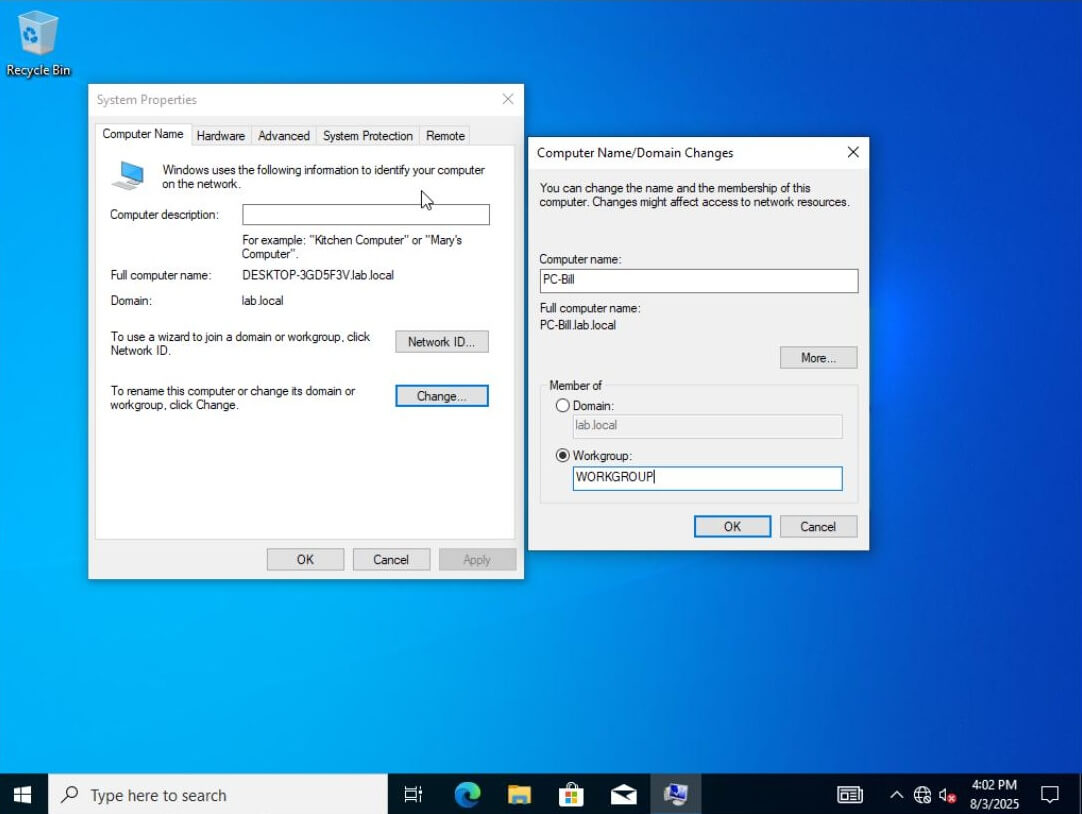
Before making any domain changes, it’s a good practice to change the computer name from its default. Using a consistent naming scheme for computers makes network administration easier and more scalable.
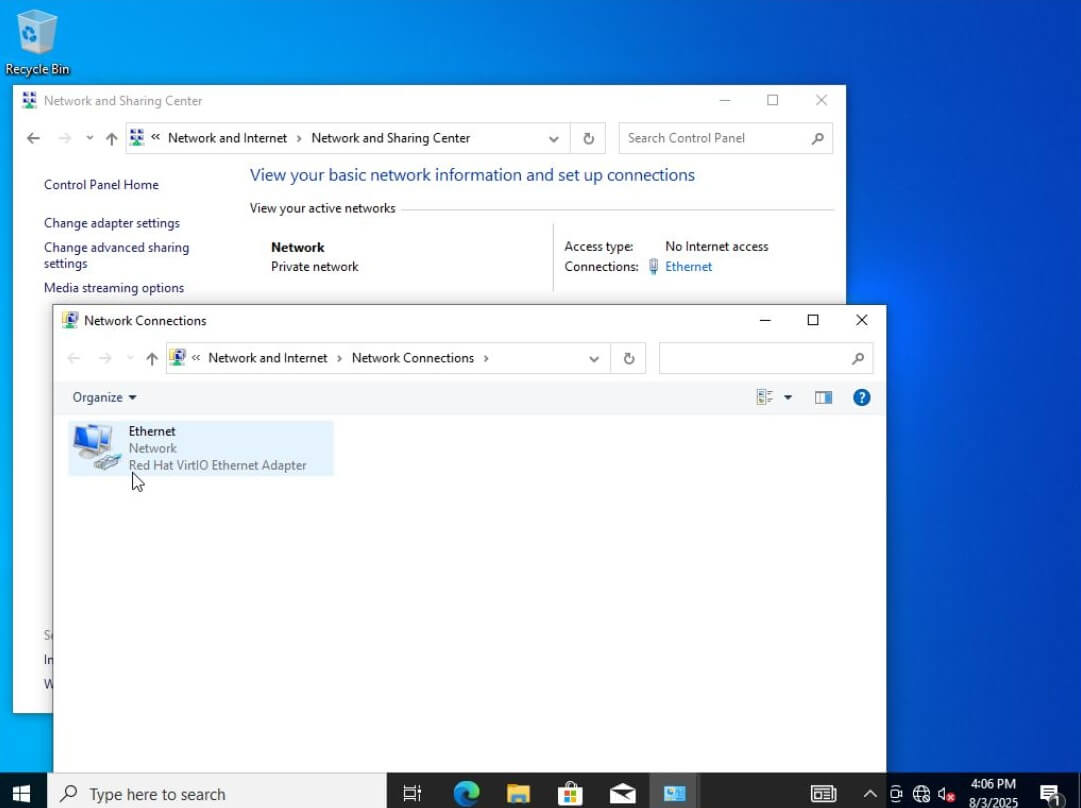
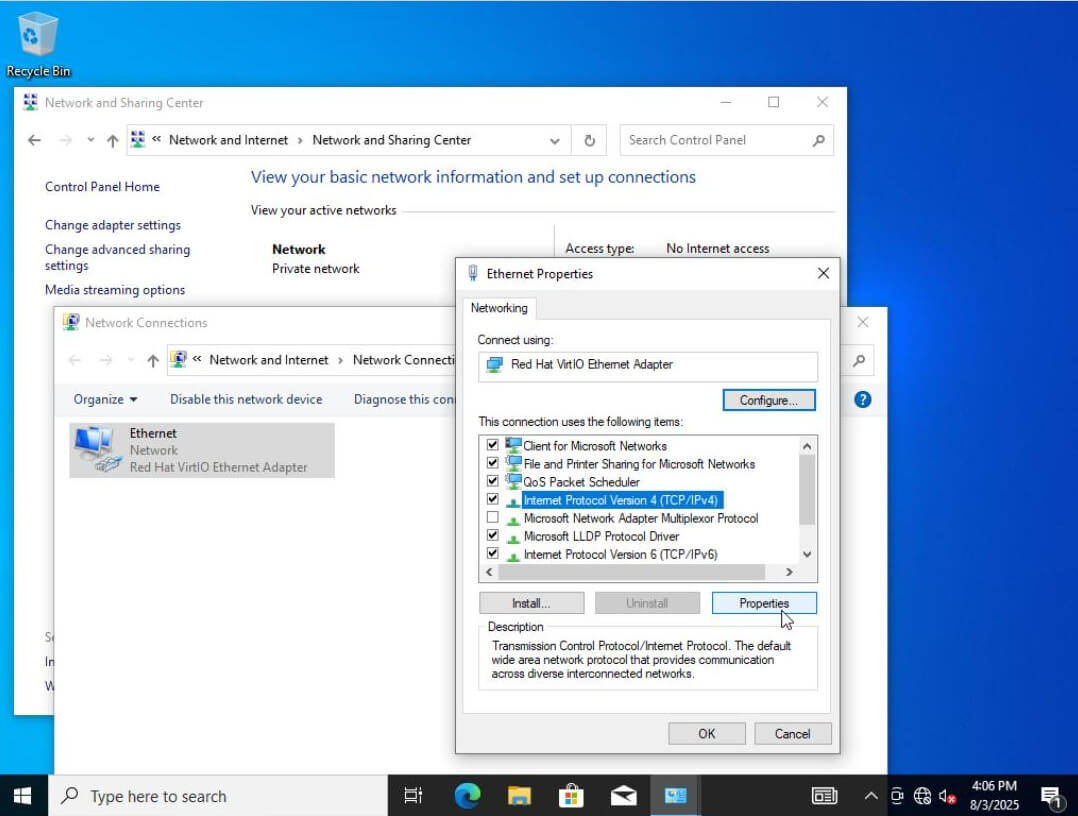
Next, confirm the correct network settings by opening the network interface properties menu, then opening IPv4 Properties.
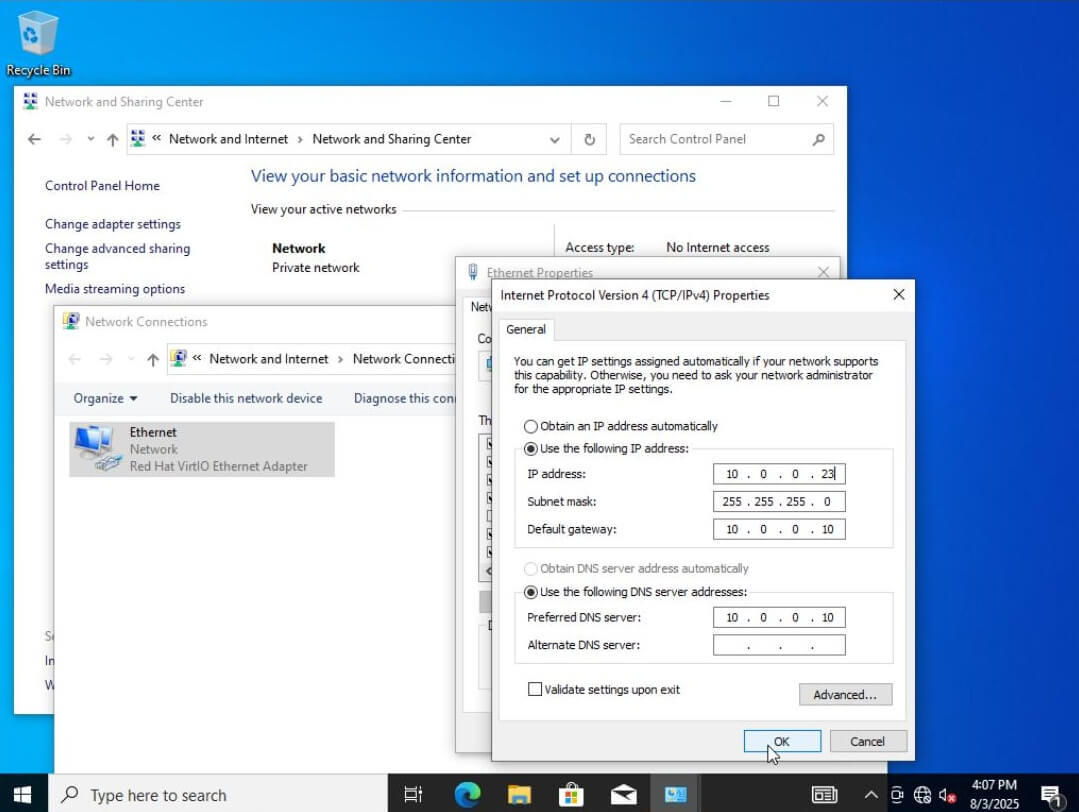
For more control, assign a static IP address, subnet mask, and default gateway. Set the Preferred DNS server to the domain controller’s IP address, as it’s currently acting as our DNS server.
Select Connect to search for the Active Directory domain. We are not connecting through the internet, so choose the join link under Alternate actions.
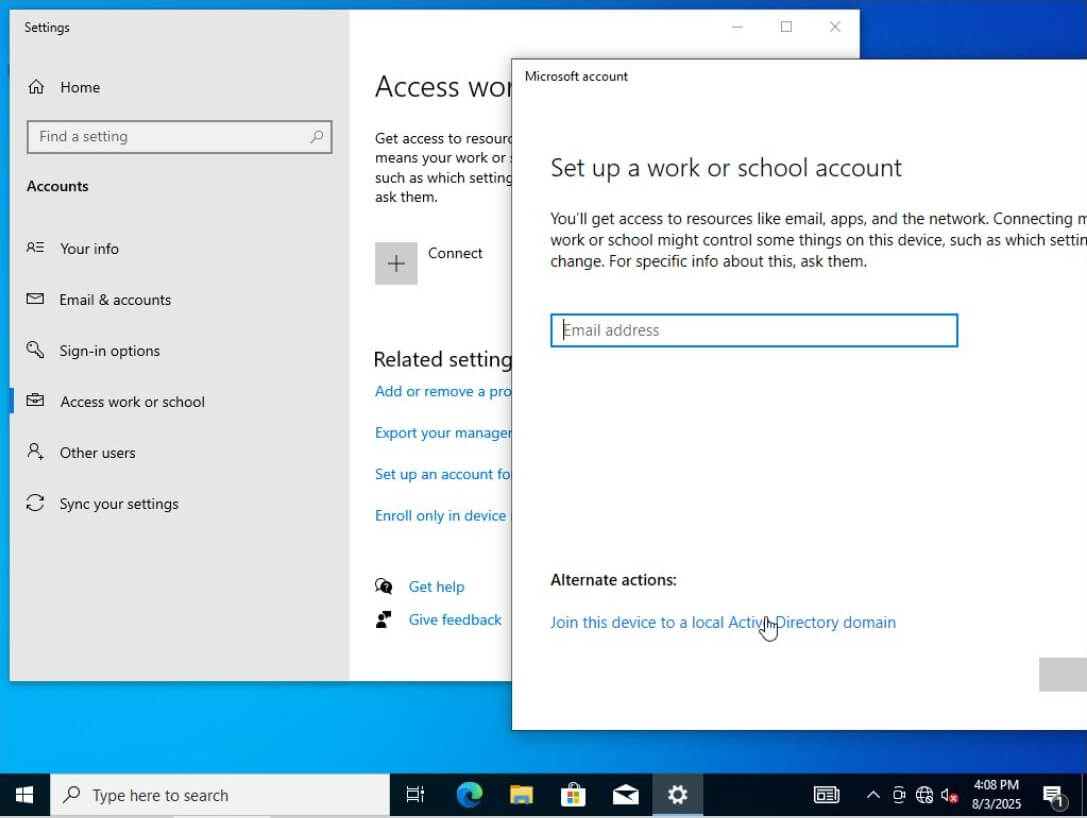
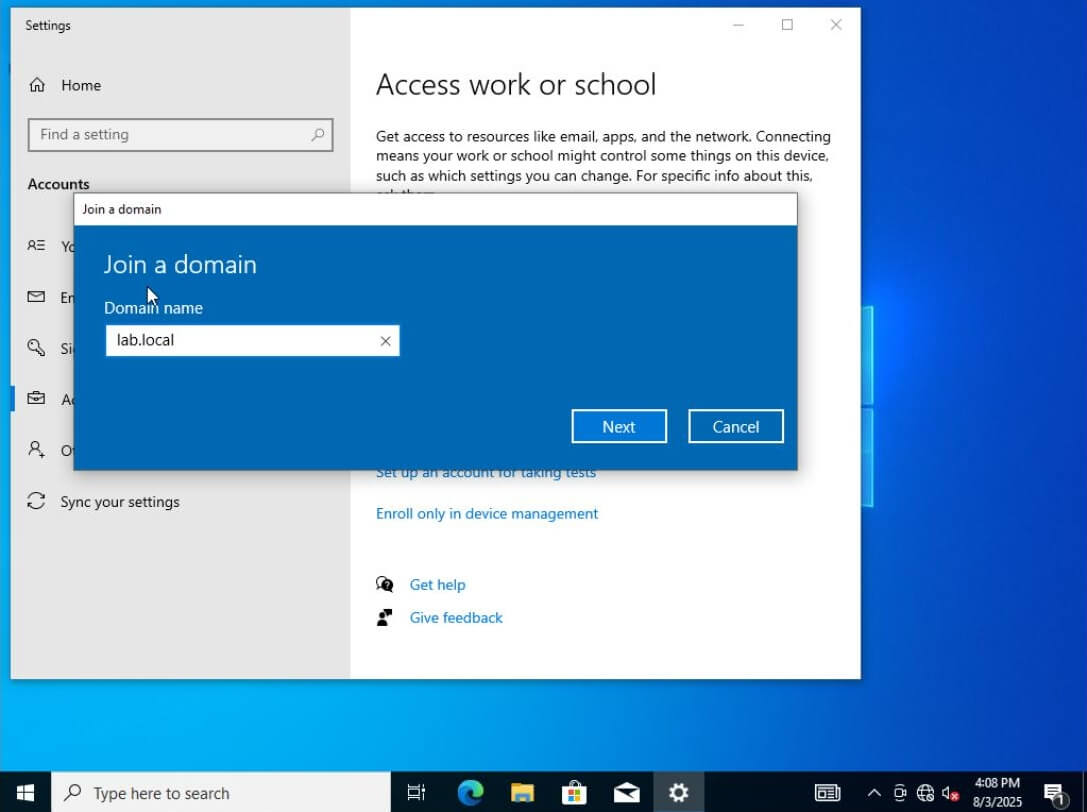
Type the domain name into the field and select Next.
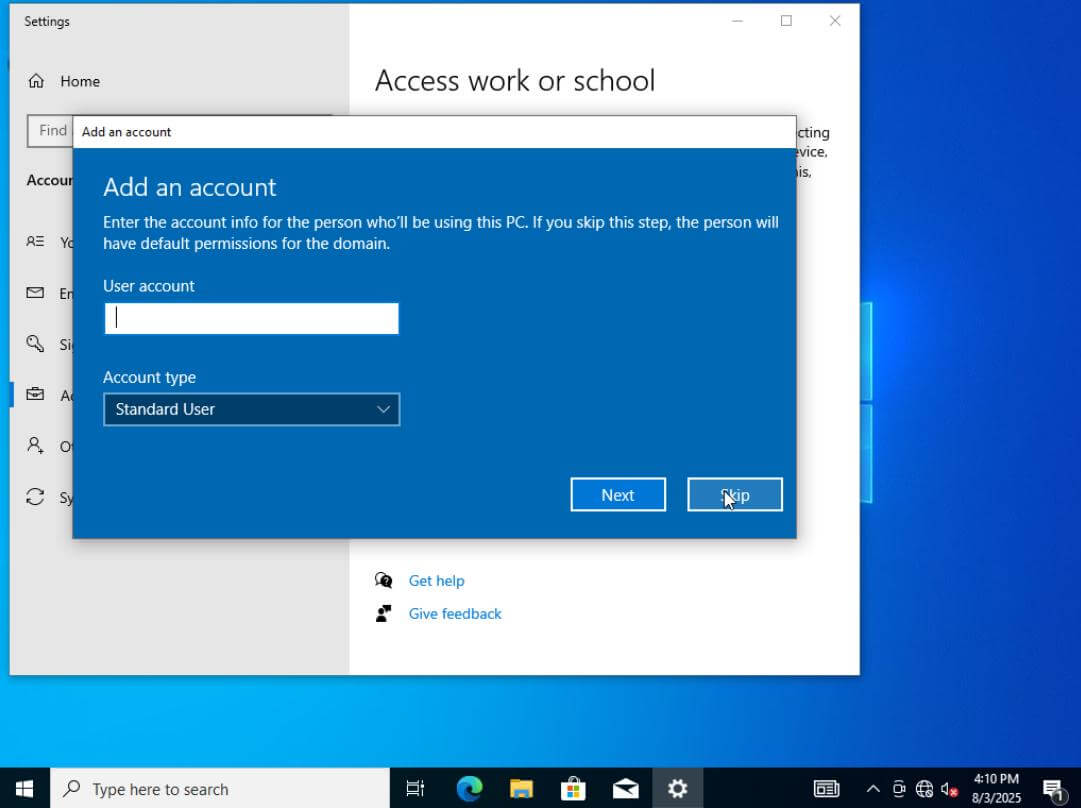
We can skip the account creation step since we already created the user on the domain controller.
Now, you can log in to any of the PCs using any of the domain user credentials!